Cleaning Tips, Home Improvement, Post
Clean Household Trash Cans: 5 Easy Steps to Disinfect

Jun
Introduction
n
If you are looking for the best information on clean household trash cans, you have come to the right place. The household trash can is one of the most hardworking but overlooked items in any home. Daily, it receives a mix of food scraps, packaging, bathroom waste, and discarded household items. While we regularly tie up and take out the trash bags, the bin itself is often neglected. Over time, leaks, spills, and condensation create a breeding ground for bacteria, mold, and persistent, unpleasant odors.
A smelly trash can not only ruins the atmosphere of a kitchen or bathroom but can also compromise your home’s hygiene.
Learning how to clean household trash cans and keep them fresh is a simple, cost-effective housekeeping skill that can dramatically improve your living environment.
nn
The Hidden Hazards of a Dirty Trash Can
n
A dirty trash can is more than just an aesthetic issue; it can pose a real health hazard to your family. The combination of organic matter, moisture, and warmth inside a bin creates the perfect environment for microbes. Bacteria such as E. coli, Salmonella, and Listeria can thrive on the inner surfaces of your trash can. When you open the lid, micro-particles and fungal spores can become airborne, potentially contaminating nearby kitchen counters or food preparation areas.
Furthermore, the lingering odors of decomposing waste attract pests like flies, ants, and cockroaches. Flies, in particular, can lay eggs in organic waste, leading to maggot infestations within days. Regular sanitation is the only way to eliminate these risks.
nn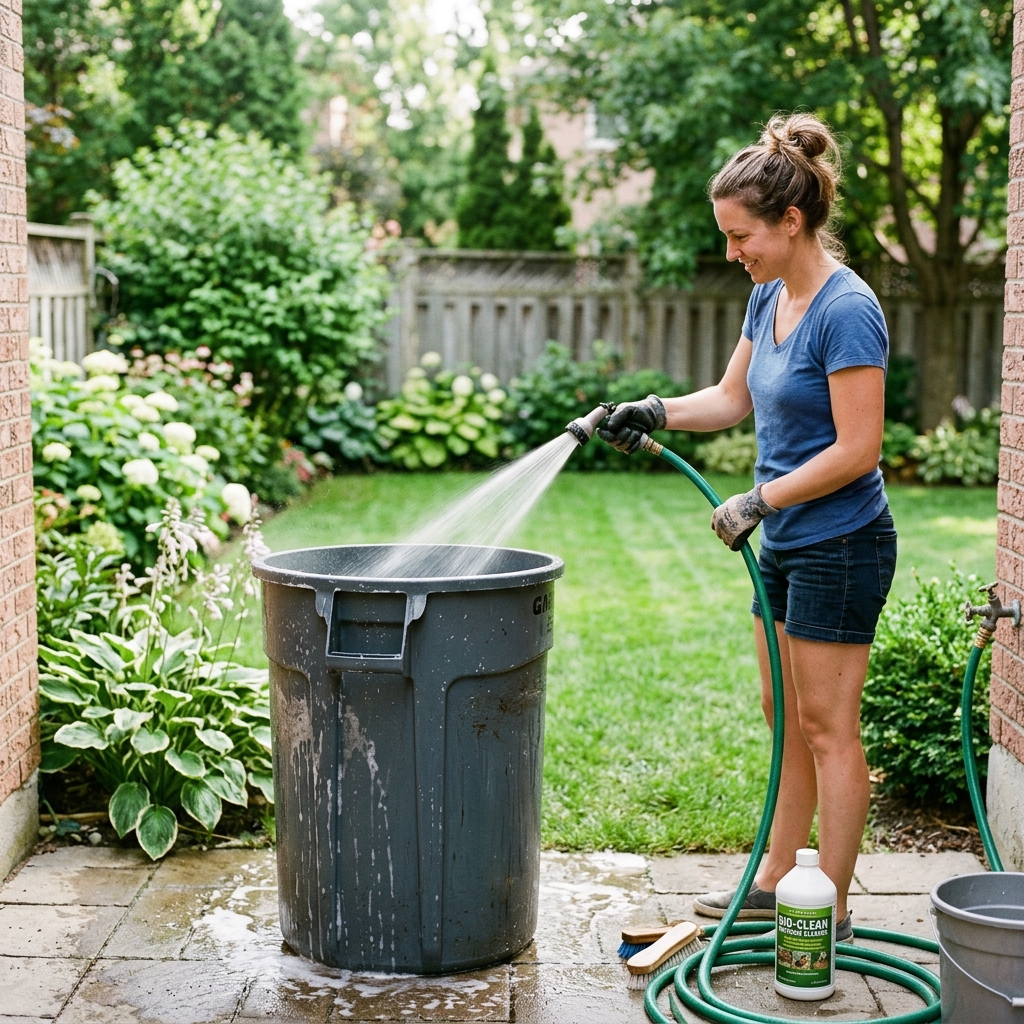 nn
nn
Supplies Needed to Clean Household Trash Cans
n
You do not need expensive, specialized chemicals to clean household trash cans. In fact, some of the most effective cleaning agents are already in your pantry. Before you begin, gather the following supplies:
n
- n
- Rubber Gloves: Essential for protecting your hands from bacteria and harsh scrubbing.
- Dish Soap: Excellent for breaking down grease and loose grime.
- White Vinegar: A natural disinfectant and deodorizer that kills mold and neutralizes odors.
- Baking Soda: A mild abrasive that scrubs away stuck-on residue and absorbs odors.
- A Long-Handled Scrub Brush: Allows you to reach the bottom of the bin without bending too deep inside.
- A Garden Hose or Bathtub: For rinsing the bin. If cleaning indoors, the bathtub or shower works best.
- Microfiber Cloths or Paper Towels: For drying the bin after washing.
n
n
n
n
n
n
n
nn
Step-by-Step Guide to Deep Clean Household Trash Cans
n
Follow these steps to thoroughly sanitize and refresh your trash cans. It is recommended to perform this deep clean once a month for kitchen bins, and once every two months for bathroom and office bins.
n
Step 1: Empty and Clear Loose Debris
n
Wait until trash collection day so the bin is empty. Put on your rubber gloves and remove any large pieces of debris, paper, or stuck-on plastic from the bottom of the can. Use a damp paper towel to wipe out any loose crumbs.
n
Step 2: Rinse the Can
n
If you have access to an outdoor area, use a garden hose to rinse out the trash can, washing away loose grime. If you are cleaning indoors, place the bin in your bathtub or shower and use a handheld showerhead. Use hot water, as it helps melt grease and kill bacteria.
n
Step 3: Apply the Cleaning Solution
n
Pour about one gallon of warm water into the bottom of the bin. Add a few squirts of liquid dish soap and two cups of white vinegar. If the bin is heavily soiled or has stubborn stains, sprinkle a generous amount of baking soda directly onto the stains. The reaction between vinegar and baking soda will create a bubbling foam that helps lift grime.
n
Step 4: Scrub Thoroughly
n
Take your long-handled scrub brush and work the soapy solution all over the inside and outside of the bin. Pay special attention to the bottom corners, where grime tends to collect, and the lid hinges, which are often touched but rarely cleaned. Scrub the exterior pedal and base as well.
n
Step 5: Rinse and Disinfect
n
Pour out the dirty soapy water. Rinse the can thoroughly with clean water until there are no soap suds left. For an extra sanitizing step, spray the inside with a commercial disinfectant spray or a diluted bleach solution (1 tablespoon of bleach per gallon of water) and let it sit for five minutes before a final rinse.
n
Step 6: Dry Completely
n
Moisture is the enemy of a fresh trash can. Use a clean towel to dry the bin, or leave it upside down outside in a sunny spot. Sunlight is a natural disinfectant and UV rays help kill remaining mold spores and bacteria. Ensure the bin is 100% dry before putting in a new bag.
nn
Effective Ways to Deodorize Your Trash Can
n
Once your trash can is clean, you can use these simple, natural deodorizing hacks to keep it smelling fresh between washings:
n
- n
- Baking Soda Sprinkle: Sprinkle a half-cup of baking soda at the bottom of the bin before putting in the trash bag. Baking soda is an alkaline substance that chemically neutralizes acidic odor molecules.
- Cat Litter: Place a shallow layer of clean cat litter at the absolute bottom of the bin (below the bag). The clay and charcoal in cat litter absorb both moisture and foul smells. Replace the litter weekly.
- Essential Oils: Put a few drops of tea tree, eucalyptus, or lavender essential oil onto a cotton ball and drop it into the bottom of the bin. These oils have natural antibacterial properties and provide a pleasant aroma.
- Dryer Sheets: Place a used dryer sheet at the bottom of the bin. While it will not absorb moisture, it will leave a fresh scent.
n
n
n
n
nn
Preventative Habits for a Fresh Trash Can
n
To reduce the frequency of deep cleaning, establish these simple preventative habits:
n
First, always use the correct size and thickness of trash bags to prevent tearing. If you frequently throw away wet waste, double-bag it. Second, compost food scraps. Food waste contains high moisture and decomposes quickly, making it the primary cause of odors. If composting is not an option, wrap food scraps in newspaper or put them in a small sealed bag before tossing them into the main bin. Finally, wipe down the lid of the bin daily with a disinfectant wipe to remove fingerprints and surface grease.
nn
Conclusion
n
Keeping your household trash cans clean and deodorized does not have to be a difficult chore. With a few simple pantry ingredients like vinegar and baking soda, and a consistent routine, you can eliminate harmful bacteria, prevent mold, and keep your home smelling fresh and welcoming. By spending just fifteen minutes a month on this task, you protect your household’s health and extend the lifespan of your waste bins.
Related Reading: Explore our detailed guide on 3 Key Technologies Explained to learn more about choosing the best waste solutions for your needs.
To understand the global impact of proper recycling and garbage disposal, check out the comprehensive resource on Waste Management on Wikipedia.